Precision is at the heart of every manufacturing process. When you need to make precise measurements and adjustments, digital micrometers are some of the most reliable tools you can have in your arsenal. They provide accurate and consistent results, helping you complete tasks with confidence. However, as simple as the tool might appear, improper use can lead to errors and frustration. From setup to storage, this guide will take you through how to properly use your digital micrometer.
An Introduction to Digital Micrometers
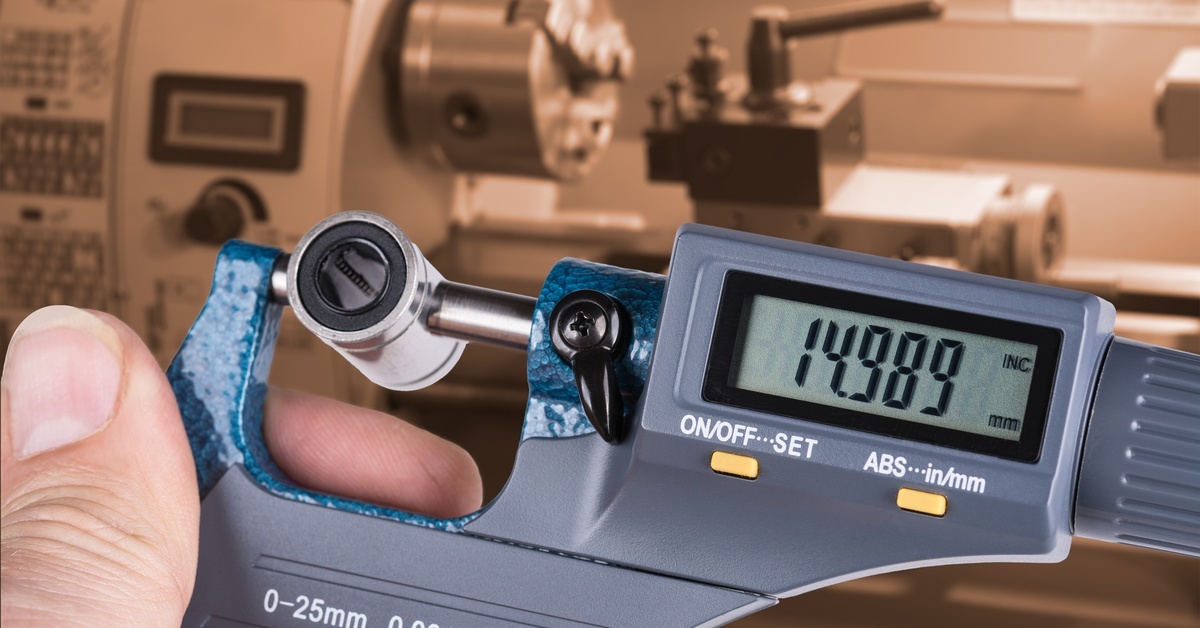
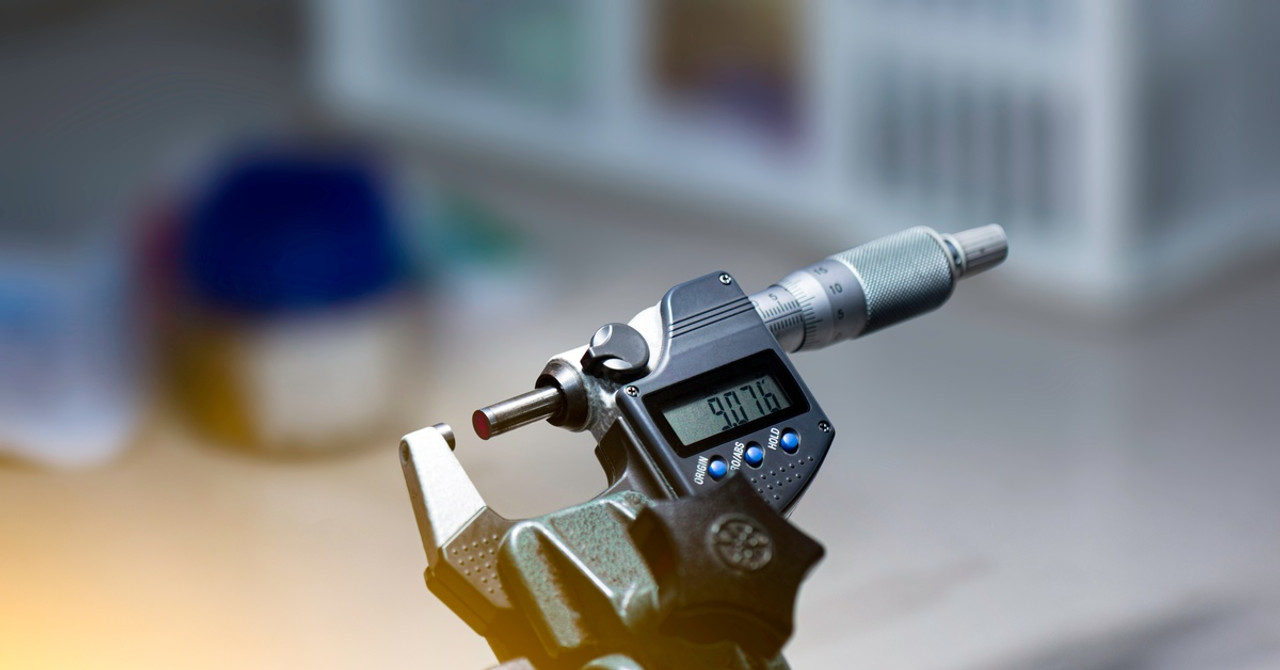
A digital micrometer is a precision measuring tool designed to capture dimensions with the highest accuracy, often down to one-thousandth of a millimeter or an inch. Unlike traditional mechanical micrometers, the digital version features a user-friendly screen that provides instant readings, eliminating human errors associated with manual interpretation. These tools are prized in industries such as machining, automotive, and aerospace engineering, where even the tiniest discrepancy in measurement could lead to substantial issues.
Before you begin, it’s essential to understand how this tool operates and how to handle it with care to avoid incorrect readings and maintain its longevity.
The Components of a Micrometer
To properly use a digital micrometer, it’s crucial to familiarize yourself with its various components. Key parts include the anvil, the spindle, the thimble, the sleeve (or barrel), the ratchet stop, and the digital display.
The anvil and spindle are the two surfaces that come into contact with the object you’re measuring. The thimble and ratchet stop are the parts that you use to adjust the spindle’s position with precision. The sleeve contains incremental markings, and the digital display prominently displays the readings for ease of use.
Having a firm understanding of these components will make the entire process much smoother and faster, improving efficiency and reducing user errors for a more productive and reliable workflow.
Cleaning and Preparing Your Tools
Cleaning and preparation are a huge part of using your digital micrometer properly. Even the smallest speck of dirt, dust, or oil can affect your measurements and create problems down the line.
Start by cleaning the object you’re about to measure to ensure it’s free of grease, dirt, and debris. A soft, lint-free cloth is ideal for wiping down the object’s surface. Similarly, make sure that your micrometer’s anvil and spindle are clean—using a dry or slightly damp cloth should suffice. Avoid using harsh chemicals that might interfere with the functionality of the tool. Consistently checking for a clean working environment will prevent inaccuracies and keep your micrometer functioning optimally.
The Calibration Process
Calibration ensures that your digital micrometer provides consistent and accurate readings. Start by closing the micrometer completely and zeroing the display. For the most accurate results, you may also use a gauge block or other standard reference to measure precise dimensions and verify the micrometer’s accuracy. Regular calibration is a key part of getting reliable results.
Measuring Techniques

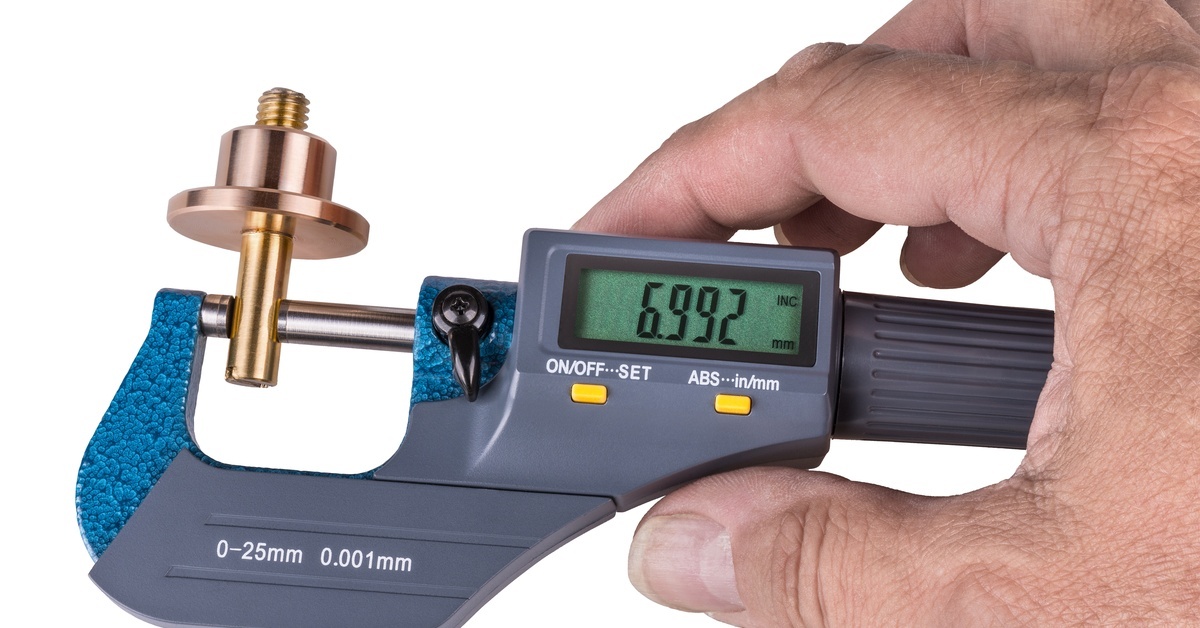
When you’re ready to measure, place the object between the anvil and spindle. Slowly turn the ratchet stop and thimble until the spindle gently contacts the surface of the object. It’s important to apply just enough pressure to make contact without distorting the object or the measurement. Using the ratchet stop allows for consistent pressure.
The digital display will then show the measurement. Avoid looking at the result right away; double-check the placement of the object and make sure the tool is secure before relying on the measurement. Maintaining steady and controlled movements will reduce errors and give you confidence in the data you produce.
Recording Your Readings Accurately
Interpreting and recording your micrometer measurements accurately is vital. Digital micrometers are convenient because their readings are instantly displayed, reducing the risk of misinterpretation compared to manual models. However, you still need to pay attention to the reading displayed, ensuring it remains consistent.
Accurate data recordings are also vital to creating an efficient and dependable workflow. For professionals wanting to streamline data collection, an SPC (statistical process control) gage cable can connect your micrometer to a computer or logging software. This allows you to automatically record measurements efficiently, eliminating any chance of human error when documenting values.
Best Practices for Maintenance
Proper maintenance keeps your digital micrometer in good working condition for years to come. After use, always wipe down the tool to remove any moisture or debris that could interfere with its components. This practice prevents rust and wear, ensuring smooth operation over time.
Lubricating the spindle periodically keeps it moving freely, which is a critical aspect of maintaining measurement accuracy. Additionally, check the battery regularly, as consistent power will avoid interruptions during use. Always follow the manufacturer’s instructions for maintenance to keep the micrometer functioning flawlessly.
Storing Your Micrometer Correctly
Storage is often overlooked, but it’s just as important as proper calibration and use. Store your digital micrometer in its protective case to prevent accidental drops, dust exposure, or moisture damage. Keep the micrometer closed but not tightly secured against the anvil to avoid unnecessary strain on its components.
If you’re working in an environment prone to extreme temperatures, keep the micrometer in a controlled climate, as excessive heat or cold can affect its electronic components. Taking these small but important steps keeps your micrometer safe.
Common Mistakes To Avoid

Many errors in micrometer use come from small, preventable mistakes. One common error is applying too much force when bringing the spindle into contact with the object being measured. This can result in inaccurate readings or even damage the micrometer’s components. It is also important to zero the display before use, as this directly impacts the reliability of measurements.
Another mistake is measuring objects while they are dirty or not properly aligned between the anvil and spindle. Rushing through the measurement process or mishandling the device can introduce inconsistencies. Avoiding these pitfalls will save you time and prevent frustration in the long run.
Enhance Your Precision With Proper Tools
Using a digital micrometer might seem daunting at first, but with proper handling, calibration, and maintenance, you’ll find it to be an indispensable tool for any task requiring precision. Enhance your measurements and data collection with Mitutoyo digimatic micrometers from Advanced Systems and Designs. Our precision measurement tools and digital gage interface cables make fast, accurate data collection easier than ever before.

